
The first time I watched a still photo start moving on its own, I replayed the clip six times before I touched anything else. A portrait I had uploaded barely thirty seconds earlier was now blinking, with the light shifting gently across the face. There had been no camera and no actor, just a photo I picked off my phone. That was my first hour with A2E's image-to-video tool, and by the time you reach the end of this guide you will have built the same thing yourself, beginning with an empty account and ending with a clip you can download, without paying a cent.
I wrote this for the person who has never opened an AI video tool and quietly assumes it must be complicated.
It isn't. My first video took under five minutes, and most of that was me dithering over which photo to use. Here is the path we will follow together: you will set up your account, open the right tool, bring your image in, write the short line of text that tells the AI how to move, then generate your clip and save it. Near the end I will hand over the specific mistakes that wrecked my early attempts, and I will point you to where I judge whether A2E is worth paying for.
What you need before we start
Almost nothing, and you probably have it already. A free A2E account, which takes a minute to create, and one image you would like to bring to life. A loose idea of how you want it to move helps too, though you can settle that as you go.
Step 1: Create your free account
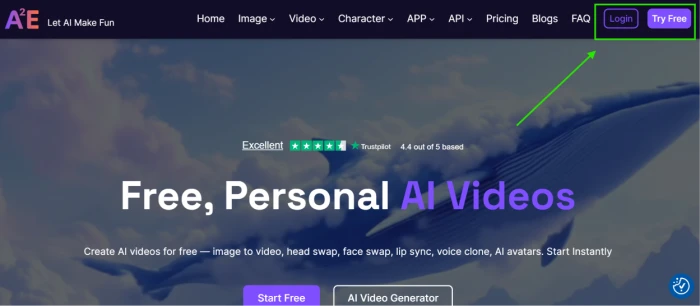
Go to A2E and sign up. You can register with an email address or your Google account, and at no point during signup will anyone ask for a card.
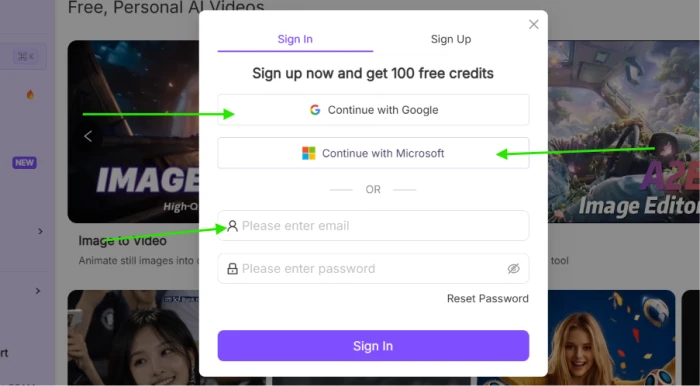
The instant your account goes live, A2E drops 100 credits into it. Credits are the fuel for everything you make here, and that opening balance comfortably covers your first handful of videos. The free plan then tops you up with 30 fresh credits a day, provided you log in and claim them through a quick daily check-in. Skip a day and that day's credits vanish, so grab them whenever you think of it.
What those credits actually buy becomes clearer in Step 5, once you can see the price sitting right beside the generate button. We will get there shortly.
Step 2: Open the image-to-video tool
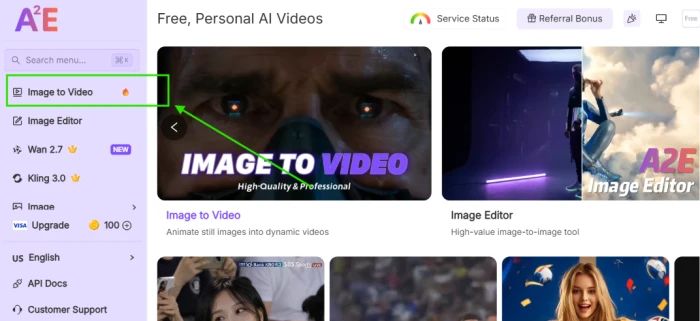
Once you are inside, the dashboard can feel a little crowded, because A2E packs an enormous range of tools into one place.
Ignore almost all of them today.
Find the Video section and choose Image to Video. That single tool is all we need for your first clip.
Step 3: Upload your image
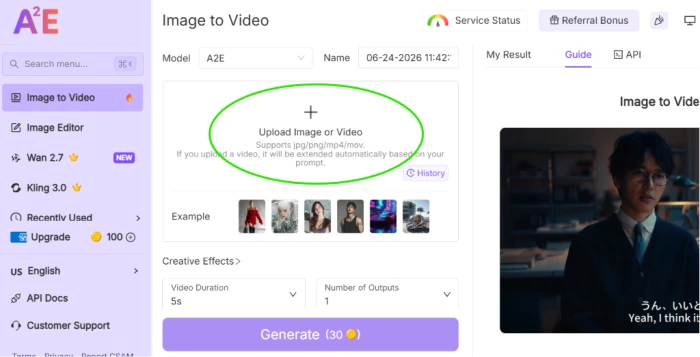
This is the step that quietly decides how good your final video looks, so it earns a little patience.
Choose an image with one clear subject and a background that isn't fighting for attention. A portrait works beautifully. So does a pet, or a landscape with a single obvious focal point. The model animates what it can read, and a clean, well-lit photo hands it far more to work with than something blurry or cluttered.
A few traps I learned to dodge: photos where the subject sits tiny in the frame, heavily filtered shots, busy crowd scenes, and anything carrying a lot of small text.
Drag your file in, or click to browse, and give it a moment to load.
Step 4: Tell the AI how to move
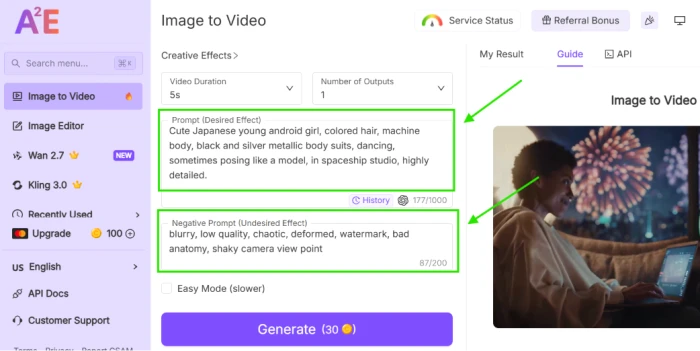
This is where the real magic happens, and where most beginners either overthink the wording or barely think about it at all.
A2E gives you a box to describe the motion you want. Keep your description specific and physical. Rather than typing something vague like "make it look cool," picture the actual movement and write that down.
Set these two side by side. A weak prompt reads: "nice video, cinematic." A strong prompt reads: "slow camera push-in toward her face, soft strands of hair lifting, a gentle smile beginning to form." The second version gives the model real direction, and what comes back reflects it.
Not sure what to write? Start small. A gentle zoom, or a subtle turn of the head, reads naturally and almost always looks convincing. You can grow more ambitious once you have seen how the tool responds to you, which you will, the moment your first clip finishes.
Step 5: Choose your settings, and meet the credit cost

Before you hit generate, A2E offers a few choices. Two matter most for a first run: how long the clip is, and which aspect ratio it uses. Resolution is decided for you on the free plan, which I will come to in a breath.
This is also the moment the credit cost I mentioned back in Step 1 turns concrete. A standard five-second clip costs 30 credits. So your 100 signup credits alone stretch to three first attempts, and your daily 30 credits quietly fund one fresh clip every single day at no cost.
One thing to know going in: on the free plan, your video tops out at 720p. That is clear enough for testing and for most social posts, but it is short of full HD. How that limit connects to the paid plans is something I will explain near the end.
Step 6: Generate, and wait a little
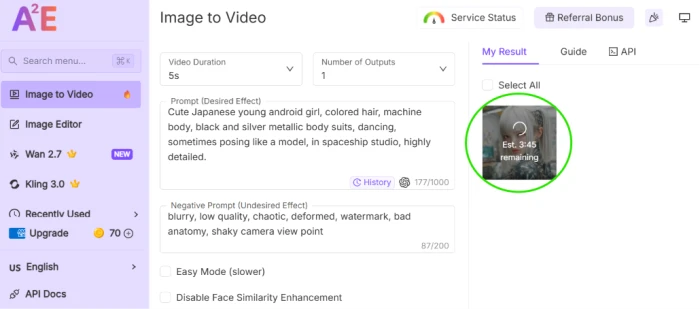
Hit generate.
A2E queues your video and gets to work, with a progress indicator showing where things stand. Now a small dose of honesty. On the free plan you run at low priority, which is A2E's polite way of saying that paying users get served first. At quiet hours your clip might land in a minute or two. When the servers are busy, expect a longer wait. This is the moment to go make a coffee rather than watch the bar crawl.
Step 7: Review and download your clip
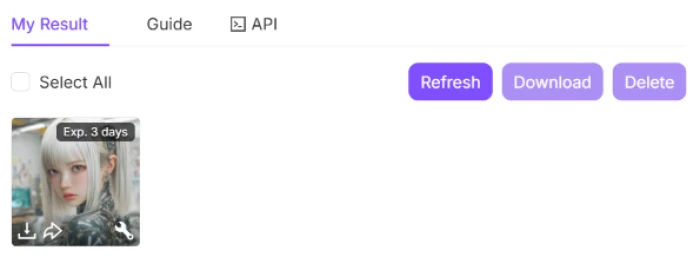
When it finishes, your clip is sitting there ready to play. Watch the whole thing. If the motion missed what you had in mind, the prompt lessons from Step 4 are exactly what you reach for now: adjust the wording and run it again.
Happy with it? Send it to your device.
The one catch on the free plan is the A2E watermark stamped onto your downloaded video. For learning and personal use, it gets in nobody's way. The day you want to publish a clip that represents you or a brand, that watermark becomes the first nudge toward a paid plan, which leads straight into the next section.
The mistakes I made, so you can skip them
My earliest clips were rough, and looking back the cause never changed much.
I fed it images that were far too busy, expecting the AI to make sense of a scene crammed with five people. It couldn't. One clear subject wins every time.
I wrote lazy prompts, then felt deflated by the lazy results that followed. The model returns roughly what you give it.
And I kept expecting huge, theatrical motion out of a single still. That is not the job this tool is built for. It excels at quiet, believable movement, the sort that makes a photograph feel alive rather than the sort that turns it into an action sequence.
Where the free plan stops, and what you gain by upgrading
By now you can make a video for free, every single day, armed with nothing more than a photo and a sentence. For plenty of people, that is the whole answer.
The free plan does have a few walls you will meet eventually. Your videos keep that watermark. Output stays pinned at 720p. And A2E's most capable video models, the ones built on Sora, Veo, Kling, Wan and others, sit entirely behind the paid tiers.
Is that worth paying for? The answer rests entirely on what you intend to make, and that is the question I worked through in our full A2E review, where I break down each plan and whether the step up earns its price.
Your turn. Open aa account, pick the photo you keep meaning to do something with, and press generate.


Comments 0
Join the discussion and share your perspective.
Sign in to post a comment and reply to other readers.
No comments yet
Be the first to share your perspective on this article.